
How to edit a video before you post it
Tap the pencil button on the video preview to open the editor. It has seven tabs — Trim, Clean, Filters, Volume, Speed, Music and Elements — and you can use as many as you like before tapping Apply, which renders them all in a single pass.
The editor sits one layer below the split flow. Anything you do here changes the source video, and whatever you do afterwards — splitting, cropping, captioning — happens to the edited version. The most direct way in is Home’s Edit a video row, under Edit and post; it is also reachable from the video status flow, and from a video you have dropped into a photo slideshow.
Step by step
Open the editor
With a video picked, tap the round pencil button in the top-left corner of the preview.
Trim to the section you want
The Trim tab gives you a start and end handle. Everything outside them is dropped.
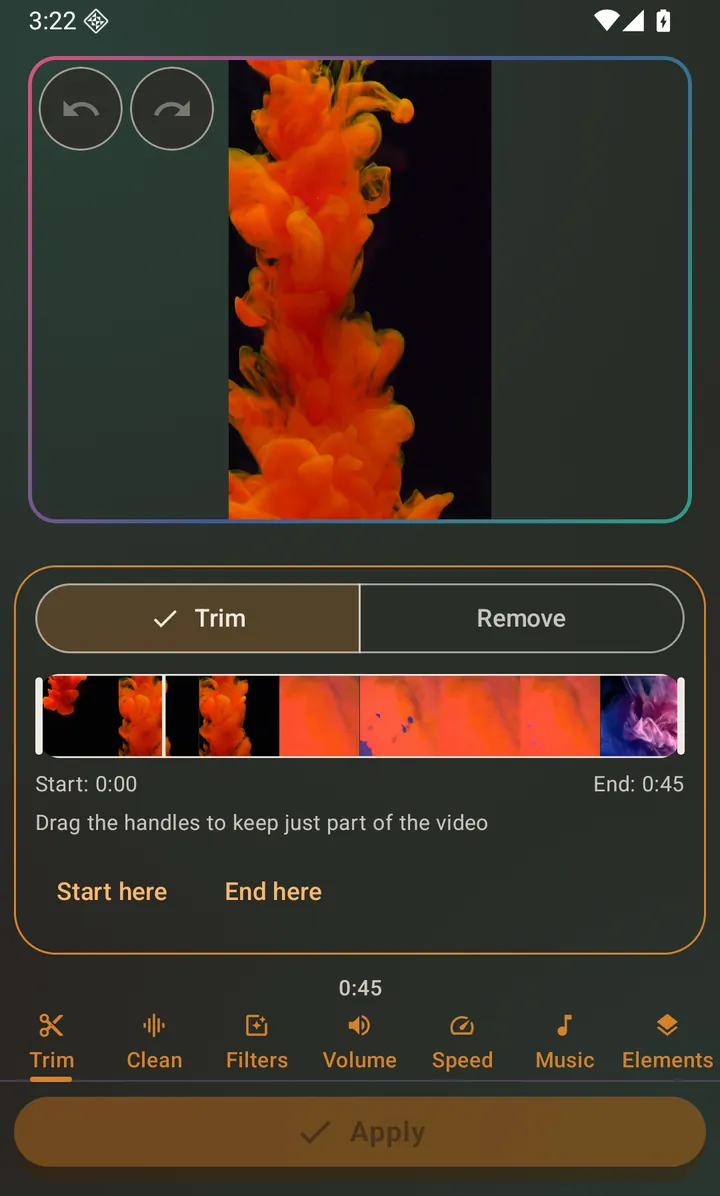
Trim: drag the two handles to keep one section. Clean up the audio
Clean has two switches: Remove silent parts, which finds silent gaps and cuts them out, and Reduce background noise.
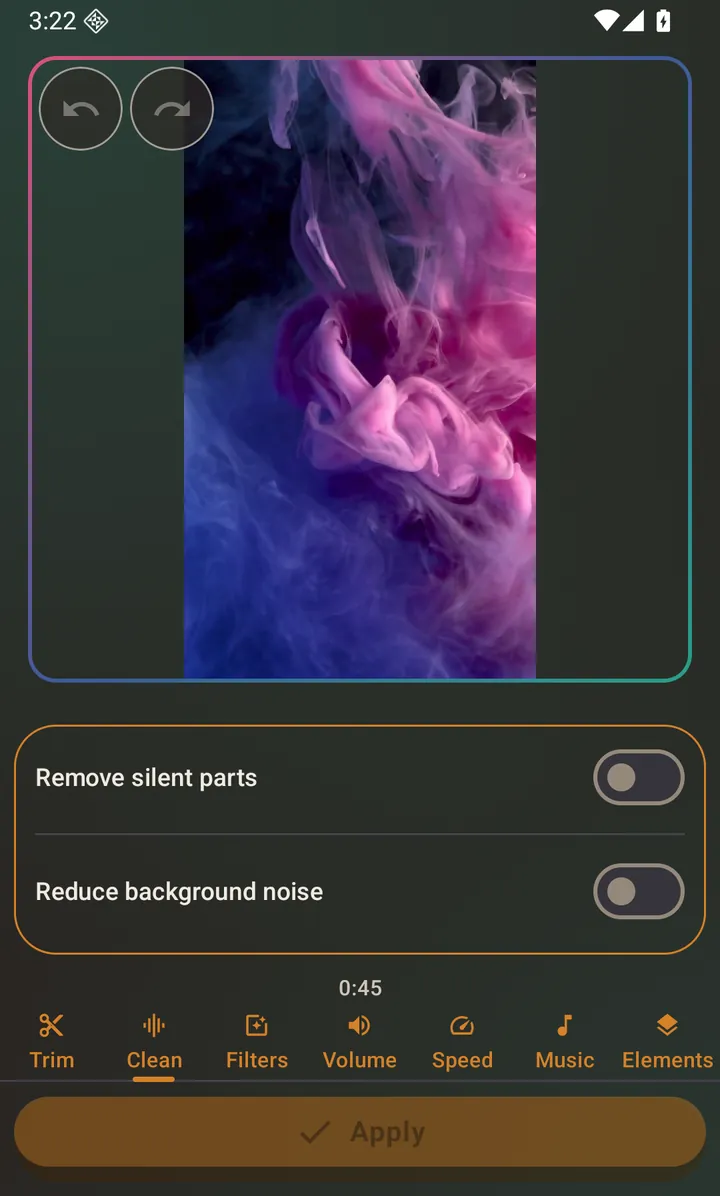
Silence removal and noise reduction, both off by default. Apply a colour filter
Filters offers Original, B&W, Vivid, Warm, Cool, Vintage, Fade and Custom, each one shown as a tinted thumbnail of a frame from your own video rather than as a name in a list. A strength slider under the row means a look can be half applied rather than all or nothing, and Auto at the head of it sets the sliders for you in one tap. Custom keeps its brightness, contrast and saturation sliders, and its thumbnail follows them as you drag.
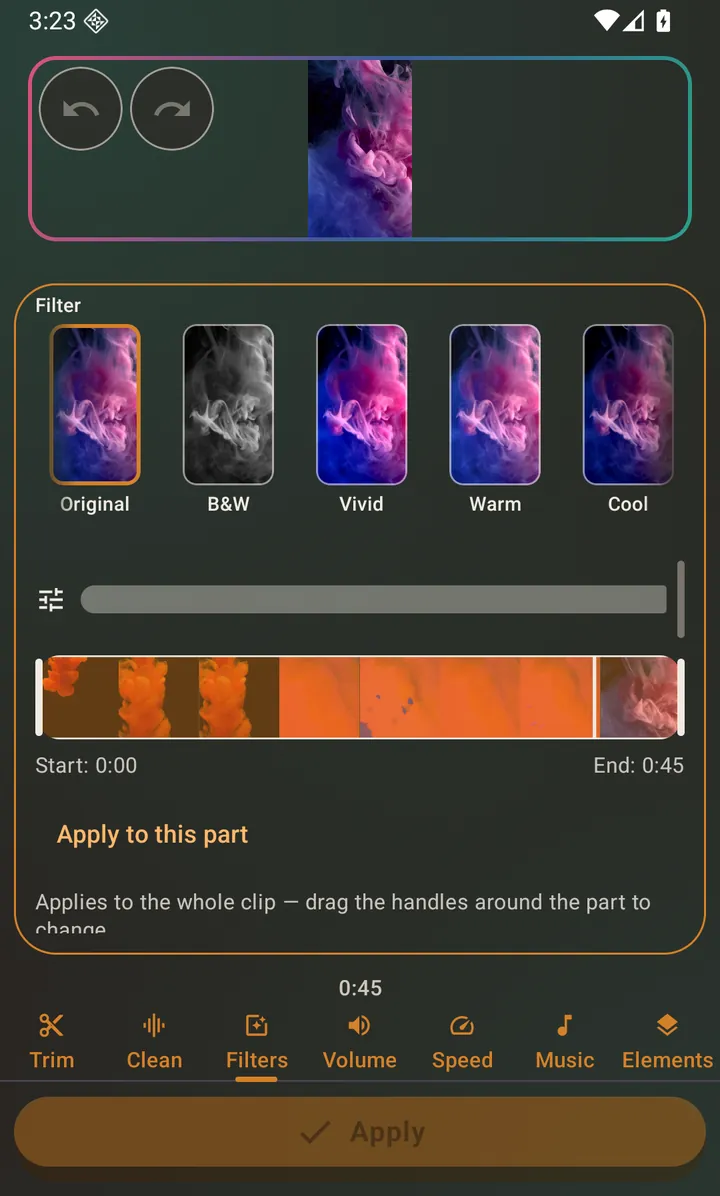
Vintage applied. Custom lets you set brightness, contrast and saturation yourself. Set the volume
Volume is a single 0–200% gain slider, and you can hear it in the preview as you drag — useful for quiet phone recordings, or for pulling a loud clip back down.
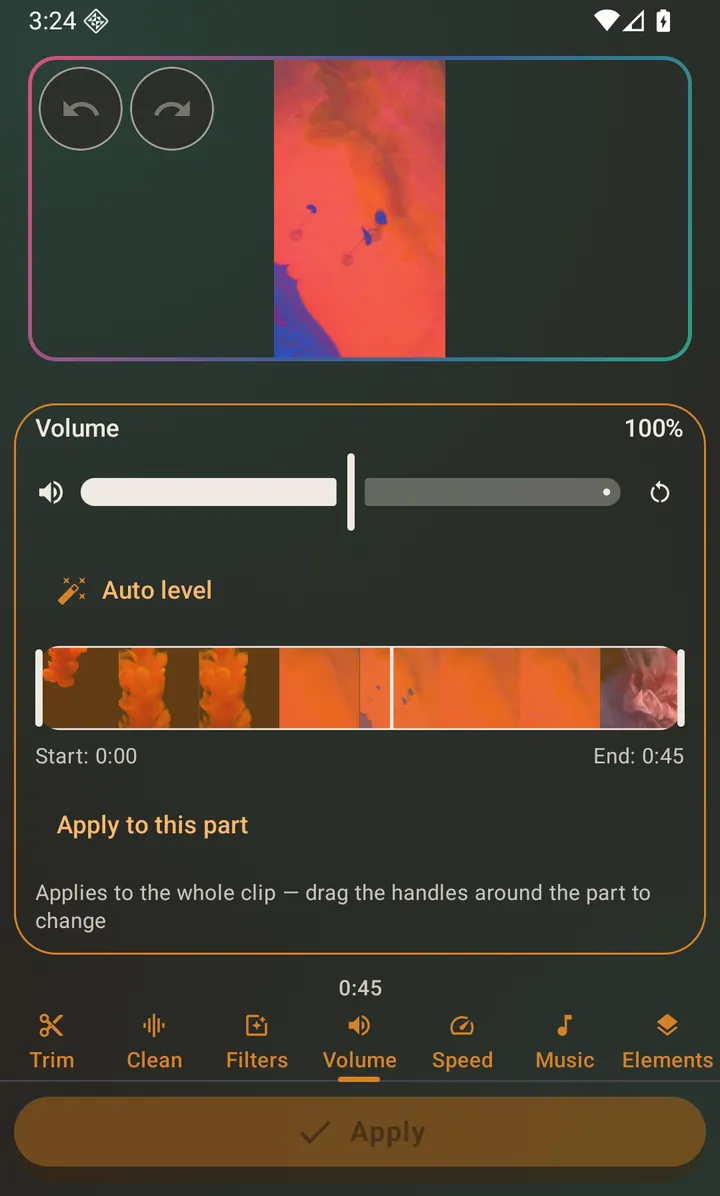
One gain slider, from silent to double, previewed live. Change the speed
Speed runs from 0.5x slow motion to 3x. Voices keep their natural pitch rather than turning into chipmunks, and the preview plays at the speed you picked.
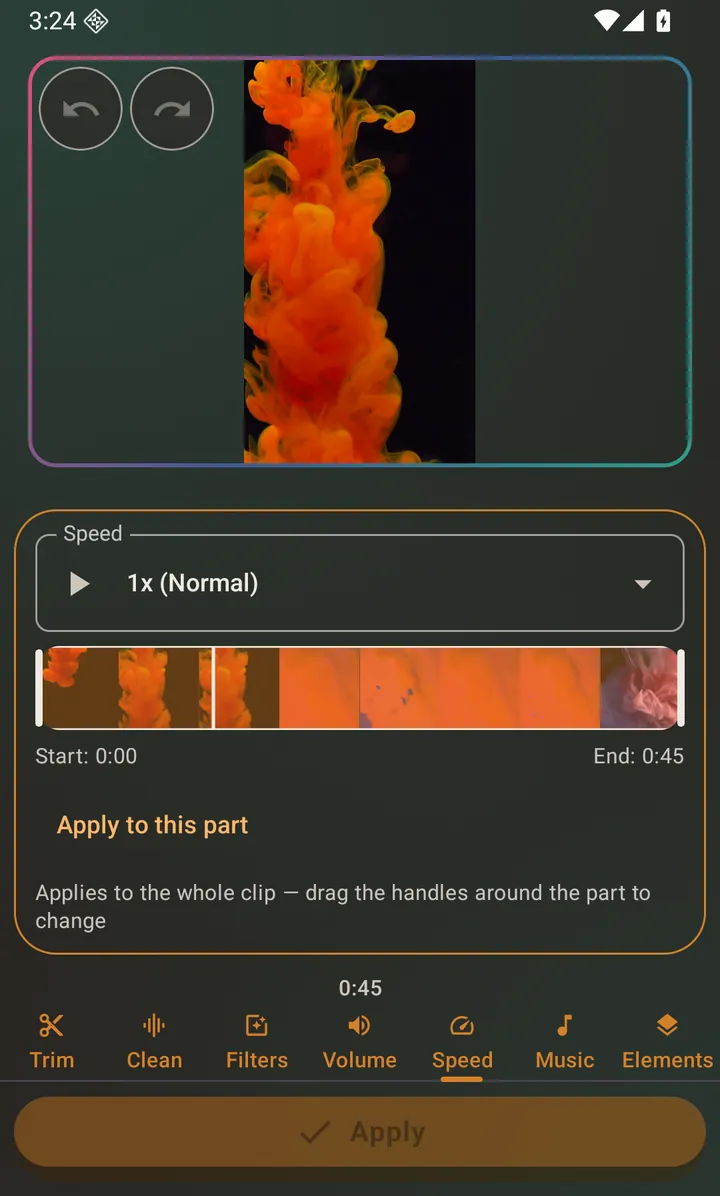
0.5x, 0.75x, 1x, 1.5x, 2x and 3x, pitch preserved. Add background music
Music layers a track under the original audio, with independent volume sliders for the video and the music.
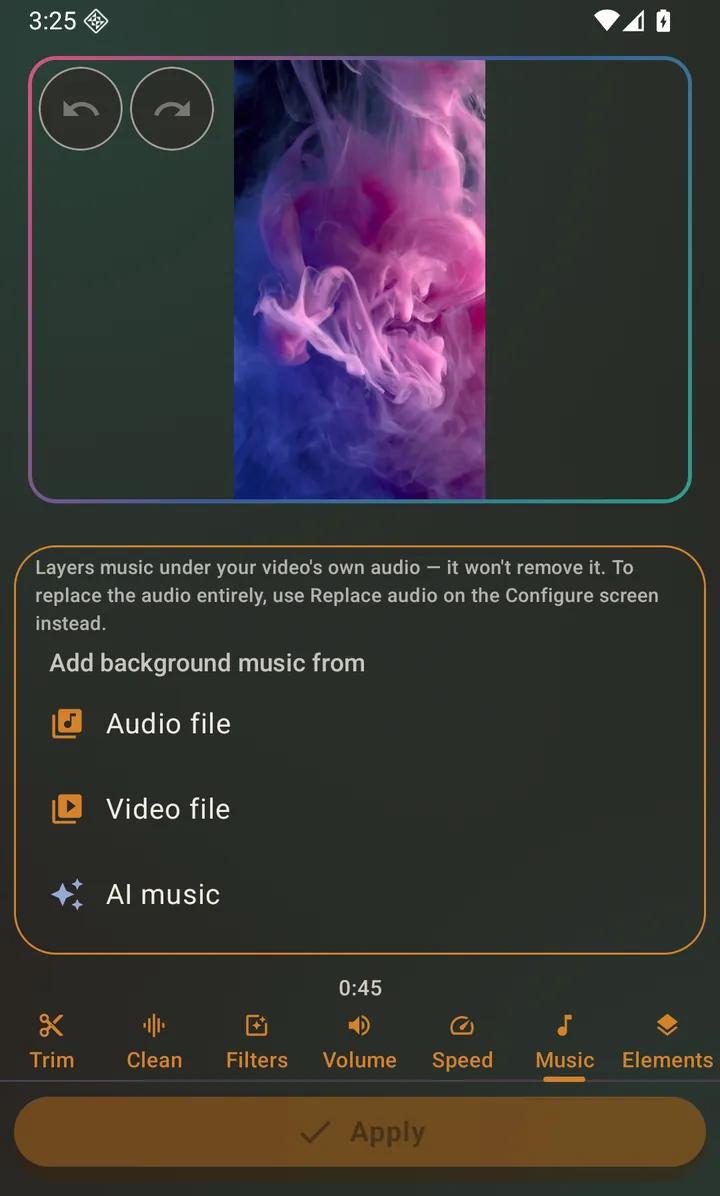
Music mixes rather than replaces — the note on screen says so. Drop in text and stickers
Elements burns text and emoji into every frame. Tap Add text for a text block or pick an emoji from the row beside it, then drag to move, pinch to resize and twist to rotate. Select one to change its colour, its size or how transparent it is, or to duplicate or delete it from the two buttons beside it.
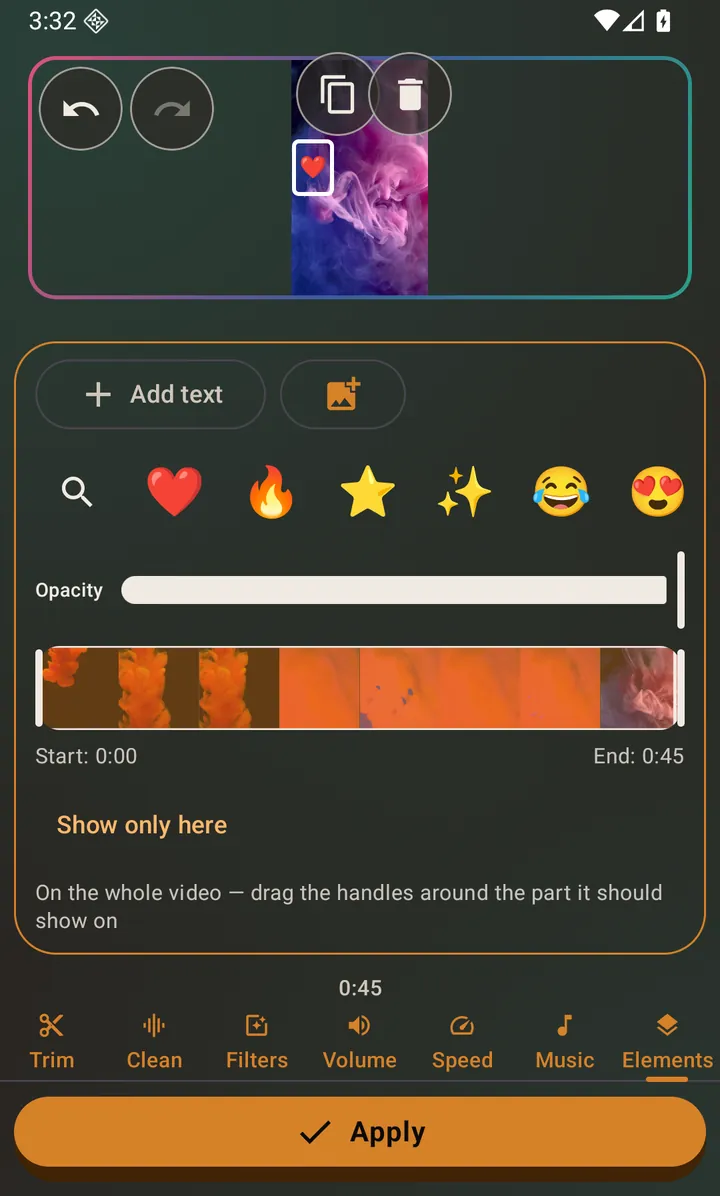
An element positioned on the frame; it is burned into the exported video. Tap Apply
Everything you set is rendered in one export. When it finishes you land back on the configure screen with the edited video in place of the original, ready to split, crop or caption.
Questions about this
Can I use more than one tool at once?
Yes, all seven combine in a single export. Trim, then filter, then speed up, then add music and a sticker — it is one render, not seven.
Does speeding up the video make the audio sound wrong?
No. Speed changes preserve pitch, so a 2x clip still sounds like the same person talking faster rather than a cartoon.
Is the noise reduction an AI denoiser?
No, and the app does not claim it is. It is a high-pass filter plus a noise gate — effective on steady background hum, not a machine-learning model.
What happens if I leave the screen while it is exporting?
The export keeps running and the result is delivered back to whichever flow you started from. It survives the app being closed or the screen being rotated.
Also searched for as: video editor, slow motion video, add filter to video, video speed changer